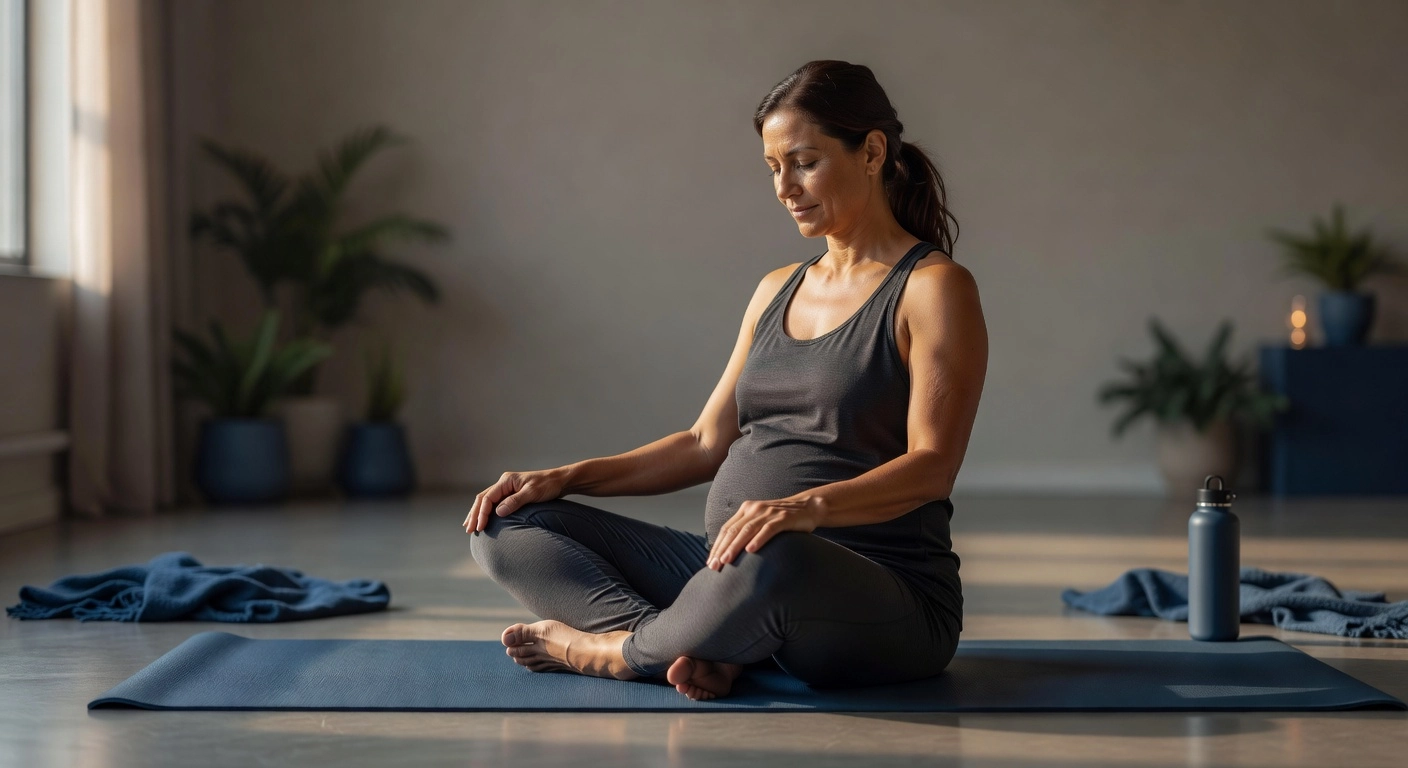
Let’s be honest, some days the couch is just calling your name, and the last thing you want to do is a hardcore workout. If you’re dealing with diastasis recti (that pesky abdominal separation that happens during pregnancy), you might also feel nervous about exercising at all. And if you’re a PCOS mom on top of that, your energy levels can feel practically nonexistent. You are so not alone in this.
The good news? You don’t have to hustle hard to start healing. There are actually some wonderfully gentle, lazy girl exercises for diastasis recti that can help you rebuild your core without wearing yourself out or making things worse. Yes, these moves are that beginner-friendly.
In this post, you’ll find a simple list of low-effort exercises that work with your body, not against it. These moves are safe, easy to follow, and perfect for doing in your pajamas if that’s where you’re at today. No judgment here. Let’s get into it!
What Is Diastasis Recti (The Lazy Girl Explanation)
Okay, real talk: if you’ve ever looked down at your postpartum belly and thought “why does this still look pregnant?”, there’s a good chance diastasis recti (DR) is involved. And no, it doesn’t mean something is seriously wrong with you.
Here’s the lazy girl explanation: during pregnancy, your growing baby puts enormous pressure on your abdominal wall. This causes the linea alba, the connective tissue running down the middle of your abs, to stretch and widen. The result? Your left and right ab muscles drift apart, leaving a gap that shows up as that stubborn belly pooch or a little “dome” when you sit up. According to Cleveland Clinic, this is incredibly common and is a normal adaptation to pregnancy for many women.
How common? Around 60% of postpartum women experience DR, with some research showing rates as high as 90% at just 42 days postpartum. You are absolutely not alone in this.
But DR isn’t just an aesthetics issue. A separated core can’t function properly as a unit, which often leads to lower back pain, pelvic floor weakness, leaking when you sneeze (yes, that), and just generally feeling unstable during everyday movement like lifting your toddler or carrying groceries.
If you also have PCOS, here’s something worth knowing: the hormonal imbalances and insulin resistance that come with PCOS may affect how your connective tissue heals and how your pelvic floor functions. According to Foundations Pelvic Health, connective tissue recovery is influenced by hormonal factors, meaning your timeline might just look a little different. That is completely okay.
The genuinely good news? Most cases of DR improve significantly with consistent, targeted gentle exercise. You don’t need an intense routine or a gym membership. Small, intentional movements done regularly are what actually move the needle here.
Before You Start: 5 Quick Safety Rules
Before jumping into the exercises, let’s cover five quick rules that could seriously protect your recovery. Think of these as your “don’t skip this” checklist, because doing the wrong moves with diastasis recti can actually make things worse instead of better.
1. Stop if you see doming or coning. If you look down during a movement and see a ridge or tent shape poking up along your midline, stop immediately. That doming is your body telling you the pressure is too much for your connective tissue to handle right now. Modify the move or skip it entirely.
2. Ditch the crunches and full planks for now. Seriously, put them on pause. Crunches, sit-ups, and full planks push too much pressure outward and can widen the separation. You can check out safe diastasis recti exercises for core strengthening to see what works instead.
3. Exhale on the effort. Every single time you exert effort, breathe out. Inhale to prepare, exhale as you move. This one habit manages your abdominal pressure and protects your pelvic floor.
4. Leaking means back off. Peeing a little during exercise is common but it is not something you push through. It signals your pelvic floor needs more support, not more intensity.
5. See a pelvic floor PT first if you can. This is especially important if you had a C-section or are more than six months postpartum. A quick check-in helps you understand what is safe and what is not for diastasis recti exercises based on your specific body and recovery stage.
7 Lazy Girl Exercises for Diastasis Recti
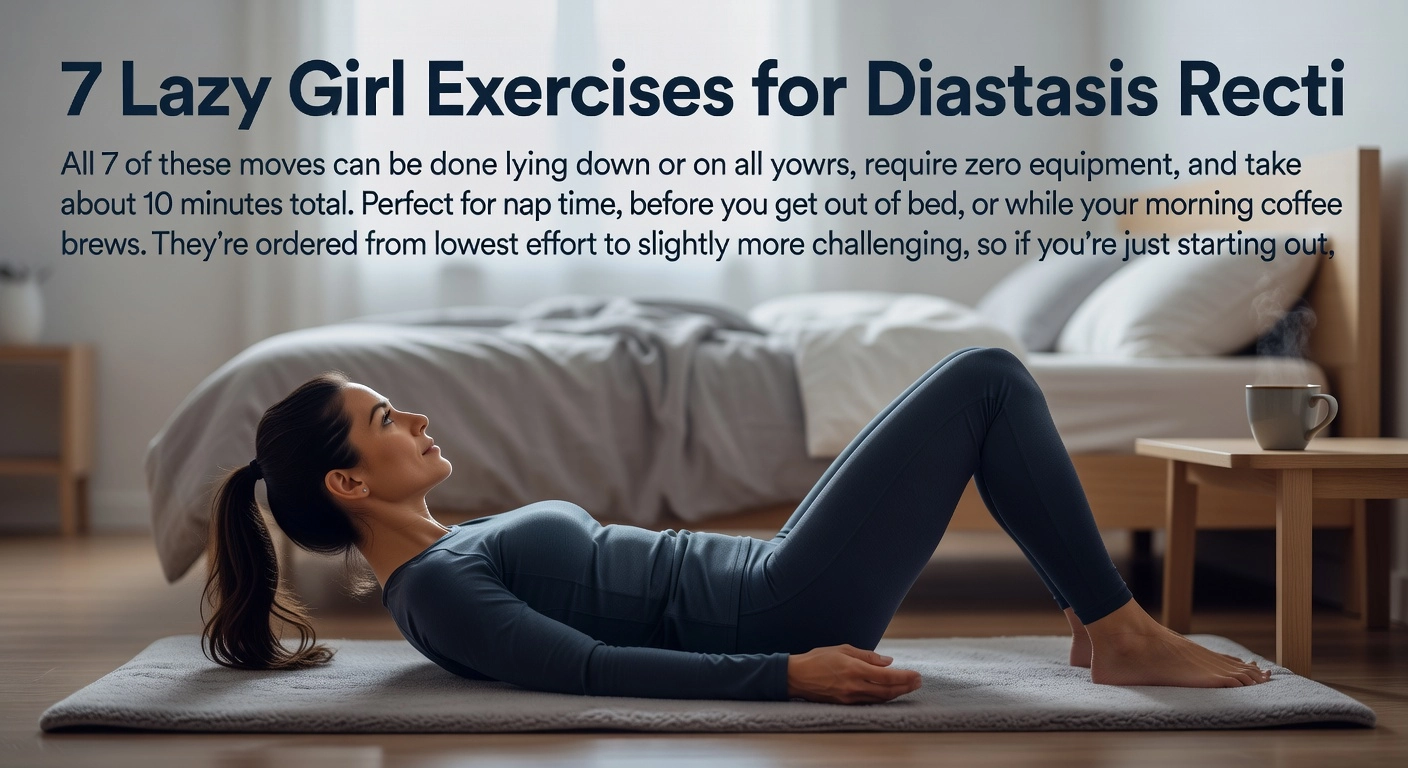
All 7 of these moves can be done lying down or on all fours, require zero equipment, and take about 10 minutes total. Perfect for nap time, before you get out of bed, or while your morning coffee brews. They’re ordered from lowest effort to slightly more challenging, so if you’re just starting out, begin at number one and work your way down as you feel ready.
One golden rule for every single exercise: pair every movement with intentional breathing and a gentle pelvic floor engagement (think a soft Kegel lift). This combo is what actually heals DR by coordinating your TVA, diaphragm, and pelvic floor together. Screenshot or bookmark this section for quick reference during your routine.
1. Transverse Abdominal Breathing
Why it works: This is the foundation of everything. It wakes up your deepest core muscle (the TVA) and starts rebuilding that inner support system around your linea alba. According to research on postpartum DR prevalence, coordinated deep core activation is the cornerstone of safe DR recovery.
Form cues: Lie on your back, knees bent, feet flat. Place hands on your lower ribs or belly.
Breathing: Inhale slowly and let your belly expand softly. Exhale and gently draw your belly button toward your spine while doing a light pelvic floor lift.
Reps: 5 to 10 breaths, 1 to 2 rounds.
PCOS fatigue mod: Do this in bed before you even sit up. No holds needed; just the breath counts.
2. Pelvic Tilts
Why it works: Pelvic tilts gently engage your lower abs and TVA without any risk of doming. They also help with the lower back ache that DR often brings along for the ride.
Form cues: Lie on your back with knees bent. You can also do this on all fours.
Breathing: Inhale to neutral. Exhale, flatten your low back gently against the floor (or tuck your tailbone if on all fours), and engage your pelvic floor at the same time.
Reps: 8 to 10 slow reps, 1 to 2 sets.
PCOS fatigue mod: Keep the movement tiny. Focus on the breath and subtle engagement rather than a big tilt.
3. Heel Slides
Why it works: Heel slides teach your core to stay stable while one leg moves, which is exactly the kind of functional strength you need for everyday mom life. This is a step up from breathing but still very gentle.
Form cues: Lie on your back, knees bent. Slowly slide one heel away from you along the floor until your leg is almost straight, then slide it back.
Breathing: Inhale to prepare. Exhale as you slide, keeping your lower back pressed into the floor and your core lightly braced.
Reps: 6 to 10 per side, 1 to 2 sets.
PCOS fatigue mod: Do tiny slides only, or simply hold the brace without moving your leg at all.
4. Toe Taps
Why it works: Toe taps add a little more challenge than heel slides by working your core against gravity as you lower a leg from tabletop position. Think of it as a tiny step up in difficulty that still feels very manageable. As noted in current clinical guidance on DR management, progressive loading of the deep core is key to long-term recovery.
Form cues: Lie on your back and bring one knee to tabletop (knee above hip, shin parallel to floor). Slowly lower your toes toward the floor, then bring them back up.
Breathing: Inhale at the top. Exhale as you lower your foot, bracing your core and engaging your pelvic floor.
Reps: 6 to 10 per side, 1 to 2 sets.
PCOS fatigue mod: Skip the tabletop position. Keep both feet on the floor and just focus on the breath and brace.
5. Bent Knee Fall-Outs
Why it works: This move builds rotational core stability in a super gentle way. As your knee falls out to the side, your deep core has to work to keep your pelvis still, which is great training for DR recovery without any strain on the midline.
Form cues: Lie on your back, knees bent, feet flat. Let one knee slowly fall outward toward the floor, then bring it back to center.
Breathing: Inhale as you lower the knee. Exhale as you bring it back, engaging pelvic floor on the return.
Reps: 6 to 8 per side, 1 to 2 sets.
PCOS fatigue mod: Make the range of motion very small, or just hold the brace and skip the knee movement entirely.
6. Modified Bird Dog (on All Fours)
Why it works: Getting onto all fours changes how gravity challenges your core, making this a great next step. You’re building whole-core coordination and stability without any pressure on your linea alba.
Form cues: Start on all fours with wrists under shoulders and knees under hips. Slowly reach one arm forward just a few inches, keeping your torso completely still.
Breathing: Inhale to prepare. Exhale as you reach, bracing gently and lifting the pelvic floor.
Reps: 6 to 8 per side, 1 set.
PCOS fatigue mod: Skip the arm lift. Simply hold the all-fours position and focus on your breathing and subtle core brace.
7. Glute Bridge with Core Brace
Why it works: The glute bridge is the most dynamic move on this list, bringing in your glutes and posterior chain while your core holds everything together. It builds the kind of functional strength that supports your posture and back health long term. Studies on DR and postpartum recovery confirm that progressive, posterior-chain-friendly exercises support healing without worsening separation.
Form cues: Lie on your back, knees bent, feet flat. Press through your heels and lift your hips toward the ceiling, squeezing your glutes at the top, then lower slowly.
Breathing: Inhale at the bottom. Exhale as you lift, drawing in your core and gently engaging your pelvic floor.
Reps: 8 to 10 reps, 1 to 2 sets.
PCOS fatigue mod: Skip the lift and simply hold a light brace in the starting position. Even lying there and breathing with intention counts on a low-energy day.
1. Diaphragmatic Breathing with TVA Engagement
Think of this one as the secret weapon hiding in plain sight. Diaphragmatic breathing with TVA engagement isn’t just a warm-up or a breathing exercise you do to feel zen. It is genuinely the foundation of diastasis recti recovery, and physical therapists consistently point to it as the essential first step before anything else. Here’s why: your transverse abdominis (TVA) is the deep “corset” muscle that wraps around your midsection. When you retrain it to activate properly, it creates tension across the linea alba, which is the connective tissue gap at the center of your belly. Over time, consistent activation helps pull those separated muscles closer together. According to PT specialists at Physis Rehab, rebuilding this deep core coordination is what drives real, lasting closure.
Here’s how to do it:
- Lie on your back with your knees bent and feet flat on the floor or bed
- Place one hand on your chest and one on your lower belly
- Inhale slowly through your nose, letting your belly rise like a balloon filling with air (your chest should stay mostly still)
- Exhale slowly, gently drawing your belly button toward your spine in a soft, subtle way, not a hard suck-in
The Natal App’s deep-dive on DR breathing describes this as restoring your body’s natural “internal corset” after pregnancy stretches everything out of sync.
Don’t forget the pelvic floor connection. As you exhale and engage your TVA, imagine gently lifting your pelvic floor upward, like you’re slowly stopping the flow of urine. It should feel subtle, not tense or gripped. Then on the inhale, fully let go and relax everything. This coordination between your TVA and pelvic floor is what makes this exercise so powerful for postpartum recovery.
PCOS modification: If fatigue is hitting hard (and with PCOS, it absolutely can), skip the floor entirely. Do this seated in a chair with feet flat, or stay lying in bed right after you wake up in the morning. Zero barrier, zero excuses, maximum consistency.
Suggested dose: 10 slow breath cycles, 1 to 2 times daily, even on rest days. Consistency beats intensity every single time here.
2. Pelvic Tilts
Now that you’ve got the hang of breathing with intention, it’s time to add just a tiny bit of movement. Pelvic tilts are the perfect next step because they feel almost too easy, but don’t let that fool you.
Why they work: Pelvic tilts gently wake up your deep core muscles and lower back stabilizers without putting any real load on your spine. Because the movement is small and controlled, there’s minimal intra-abdominal pressure, which means you’re not stressing the linea alba. This makes them one of the safest early postpartum moves you can do, and physical therapists consistently recommend them as a beginner entry point into DR recovery.
How to do it:
- Lie on your back with knees bent and feet flat on the floor, arms relaxed by your sides
- Exhale and gently press your lower back into the floor by tucking your pelvis under
- Hold that position for 3 to 5 seconds
- Inhale and slowly release back to neutral
The key thing to focus on here is using your deep core to create that tuck, not your glutes. If you’re squeezing your butt hard to get the movement, you’re missing the point. Keep it subtle and controlled.
Also, keep an eye on your belly during each rep. If you notice any doming or coning along your midline, stop immediately and go back to just the breathing exercise until that settles.
Reps and sets: Aim for 10 to 15 reps for 2 rounds, resting between sets whenever you need it. You can follow along with a quick visual demo on YouTube if you want to see the movement before trying it.
3. Heel Slides
Heel slides are a natural step up from pelvic tilts, and honestly, they feel deceptively simple. But do not let that fool you because your deep core is quietly working hard the whole time.
Why it works: When you slide your leg away from your body, your transverse abdominis (that deep internal “corset” muscle) has to kick in to keep your pelvis stable. The beauty here is that you are challenging your core without putting any pressure on the rectus abdominis, which means no risk of worsening that midline gap. It is one of the safest progressions in diastasis recti recovery for exactly that reason.
How to do it:
- Lie on your back with knees bent and feet flat on the floor
- Gently brace your deep core, think of softly “zipping up” your lower abs
- Exhale slowly as you slide one heel along the floor until your leg is almost straight
- Inhale as you slide it back to the start
- Keep your lower back pressed into the floor the entire time; if it starts to arch, shorten your range of motion
The number one form cue: Your lower back should maintain contact with the floor throughout every single rep. If it lifts, your core has lost the battle and your back is compensating.
PCOS fatigue modification: If you are dealing with that bone-deep PCOS exhaustion, slow everything way down. Slide one heel at a time, pause between reps, check your form, and breathe. There is zero shame in going slower; it actually improves results by keeping you engaged with proper technique.
Reps and sets: Aim for 8 to 10 reps per side for 2 rounds.
4. Toe Taps
Think of toe taps as heel slides’ slightly more ambitious cousin. You’re still lying on your back, still keeping things low-key, but now your legs are lifted off the floor in a tabletop position. That small change makes your TVA work harder to stabilize your pelvis and spine throughout the entire movement. It’s more challenging than heel slides but still nowhere near the intensity of leg raises or crunches, which is exactly what we want right now.
How to do it: Lie on your back and bring both legs up into tabletop position, with your hips and knees both bent at 90 degrees and your shins parallel to the floor. Take a breath in to prepare, then exhale and slowly lower one foot down to gently tap the floor. Inhale as you bring that leg back up to tabletop, then repeat on the other side.
The biggest form mistake here is letting your lower back lift off the floor when your leg goes down. If that’s happening, slow way down or reduce how far you lower your leg. Your back staying flat is non-negotiable.
As a beginner, do single slow taps on one side before switching rather than quickly alternating. Build that control first, speed later.
Reps and sets: 8 reps per side for 2 rounds, resting between sets as needed.
5. Abdominal Bracing
Here’s where things get really practical, and honestly, really lazy in the best way possible.
Abdominal bracing is the exercise you can do literally anywhere, and once you understand how it works, you’ll start sneaking it into your day without even thinking about it. Unlike the previous moves that require you to carve out floor time, this one meets you wherever you are.
Why it works: Abdominal bracing teaches your core to engage functionally, meaning the strength you build here actually transfers into real life. Every time you pick up your baby, hoist a grocery bag, or push yourself up from the couch, your deep core is supposed to fire first. For a lot of postpartum moms, that automatic response gets disrupted. Bracing retrains that connection so your healing linea alba gets supported during the everyday moments that matter most.
How to do it: You can do this sitting, lying down, or standing. Take a breath in, then as you exhale, gently tighten your core as if you’re bracing for a light punch. Not sucking in hard, not holding your breath, just a soft, steady tension. Hold for 5 seconds, then fully release. Simple.
Pair it with daily activities: Practice bracing right before you lift your baby, stand up from a chair, or carry something heavy. That “brace before you load” habit protects your core during the movements that stress it most.
PCOS note: If energy is low or motivation is nowhere to be found (totally valid), this one removes every barrier. You can practice it during feeding sessions, while watching TV, or even sitting in the school pickup line.
Reps: 10 holds of 5 seconds, scattered throughout your day.
6. Glute Bridges
Glute bridges might just be the MVP of this entire list, and the best part? You’re still lying on your back. Truly lazy girl approved.
Why it works: This move targets your glutes and the entire posterior chain, which plays a huge supporting role in pelvic floor function and core stability. When your glutes are weak (hello, months of pregnancy waddling plus postpartum couch recovery), your pelvis loses a lot of its natural support system. Strengthening the backside actually takes pressure off your healing abdominal wall. Plus, if you’ve been sitting or resting a lot during recovery, your glutes have probably gone a little dormant. Glute bridges gently wake them back up.
How to do it: Lie on your back with your knees bent and feet flat on the floor, hip-width apart. Exhale as you press through your heels and lift your hips up until your body forms a straight line from your knees to your shoulders. Squeeze your glutes firmly at the top, then inhale and slowly lower back down. Keep your core gently braced the whole time, and be careful not to let your lower back hyperextend or arch aggressively at the top. Think about stacking your ribcage over your pelvis rather than pushing your hips as high as possible.
PCOS note: Single-leg bridges are a great progression down the road, but master the double-leg version first, especially if you have any pelvic floor tension going on.
Do: 10 to 15 reps for 2 to 3 rounds.
7. Bird Dog (The Level-Up Move)
Okay friend, you’ve made it to the final move on the list, and this one is your graduation exercise. Think of bird dog as the reward you unlock once exercises 1 through 6 feel comfortable and easy. If you’re still working on those, no rush. Come back to this one when you’re ready.
Why it works: Bird dog challenges your core in a totally different way than everything else on this list. By extending your opposite arm and leg at the same time, your body has to resist rotation and stay completely stable. That challenge is exactly what builds the functional deep core strength your body needs for real-life DR recovery, like picking up a toddler or carrying groceries without that telltale lower belly dome.
How to do it:
- Start on all fours with your hands directly under your shoulders and knees under your hips
- Exhale and gently brace your core, drawing your belly button in
- Slowly extend your right arm forward and your left leg back at the same time
- Hold for 3 to 5 seconds, then inhale and return to start
- Switch to the left arm and right leg, and repeat
The biggest form cue here is keeping your spine neutral and your hips perfectly level throughout the whole movement. No twisting, no sagging in the lower back, and no rushing. Slow and steady is the entire point.
Reps and sets: 8 reps per side for 2 rounds, moving with full intention rather than speed.
How to Build a Lazy 10-Minute DR Routine
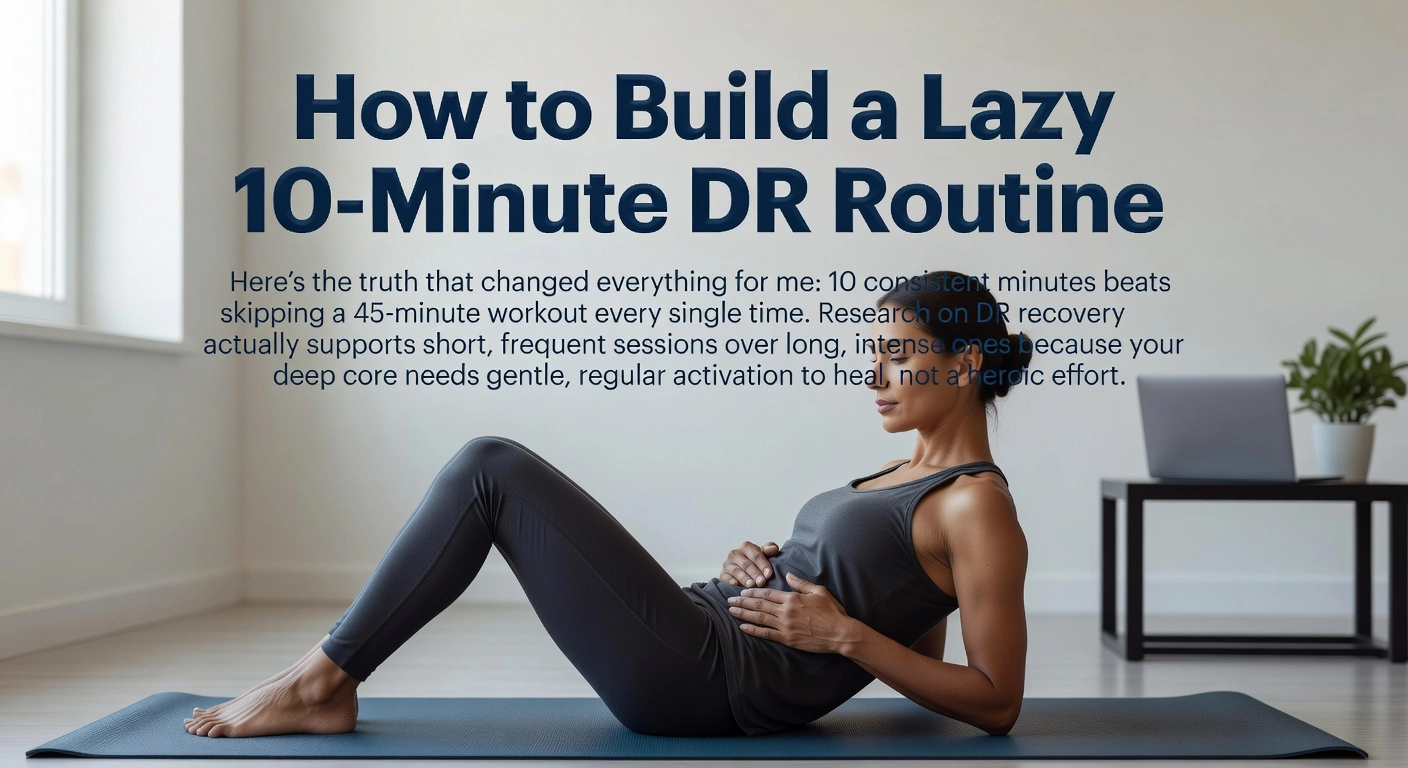
Here’s the truth that changed everything for me: 10 consistent minutes beats skipping a 45-minute workout every single time. Research on DR recovery actually supports short, frequent sessions over long, intense ones because your deep core needs gentle, regular activation to heal, not a heroic effort once a week that leaves you too sore to try again.
Your Simple Weekly Schedule
Do your breathing and bracing exercises every single day. Seriously, even just two minutes of diaphragmatic breathing counts. Then run through the full 7-exercise list 3 times per week on whatever days feel manageable. Monday, Wednesday, Friday works great, but so does Tuesday, Thursday, Saturday. Pick your days and don’t overthink it.
Stack It Onto Something You Already Do
The secret to actually doing this? Stop treating it like a separate task. Anchor your 10 minutes to a habit you already have. Do your breathing while your morning coffee brews. Run through the exercises during nap time. Start your routine during the first 10 minutes of whatever show you’re watching at night. When you remove the decision fatigue, you actually do the thing.
Your 10-Minute Breakdown
- 2 minutes: Diaphragmatic breathing with TVA engagement
- 6 minutes: Rotating through pelvic tilts, heel slides, toe taps, and glute bridges
- 2 minutes: Bird dog or abdominal bracing holds
On Your Most Exhausted Days
Just do exercises 1 and 2. That’s it. Two minutes of breathing plus pelvic tilts still count, still keeps your healing momentum going, and still beat doing nothing. Progress is built in tiny, consistent deposits, not perfect sessions.
Why PCOS Moms Might Struggle More with DR Recovery
If you have PCOS on top of postpartum DR recovery, first of all, you deserve serious credit because you are genuinely dealing with more than most people realize. Here is why your recovery journey might look a little different, and why that is completely okay.
PCOS disrupts the hormones that help your connective tissue heal. Elevated androgens and insulin resistance, two hallmarks of PCOS, can interfere with collagen production and remodeling. Your linea alba (that midline connective tissue that separated during pregnancy) depends on healthy collagen to regain tension and strength. PCOS-related hormonal imbalances can alter collagen quality, making the healing process slower or less complete compared to women without PCOS. It is not your fault, and it is not a permanent roadblock. It just means your body may need a little more time and grace.
Chronic inflammation adds another layer of challenge. PCOS is linked to ongoing low-grade inflammation, which can break down collagen faster than your body rebuilds it. This means recovery timelines for PCOS moms may stretch longer than the typical six to twelve month window. Consistency matters more here, not intensity.
Pelvic floor dysfunction is also significantly more common in women with PCOS, with some research suggesting rates as high as 37% compared to around 6% in women without PCOS. Since DR and pelvic floor issues are deeply connected, this overlap is worth knowing about.
Nutrition is your secret recovery partner. High-protein eating supports muscle repair and helps stabilize blood sugar, which is especially important with insulin resistance. Check out the high-protein lazy meal ideas on this site for easy, low-effort ways to fuel your recovery without spending hours in the kitchen.
Here is the genuinely good news though: the gentle, low-intensity style of these lazy girl exercises is not just convenient for PCOS moms, it is actually the right approach. Intense exercise can spike cortisol and worsen PCOS symptoms, but slow and controlled movements support your body without overwhelming it. The lazy girl method is not a compromise. For you, it is the strategy.
Your Lazy Girl DR Questions Answered
Got questions? Same. Here are the ones I hear most often, answered honestly.
How long does DR take to heal? It really depends on your consistency and your gap severity, but here’s what the research actually says: around 39% of women still have measurable DR at 6 months postpartum, and about 1 in 3 still have it at the one-year mark. The good news is that regular gentle exercise, even just 5 to 10 minutes daily, accelerates improvement significantly compared to doing nothing and waiting.
Can I do these exercises if my baby is no longer a newborn? Absolutely yes. DR can persist for years, sometimes even decades, so these exercises are appropriate whether you are 6 weeks postpartum or 3 years out. You are not “too late” to start healing.
What if I also have a C-section scar? This is really important. C-section births show a DR prevalence of around 78% compared to 54% for vaginal births. Scar tissue can genuinely affect how your core functions, so seeing a pelvic floor physical therapist before starting is especially valuable here.
Do I absolutely need a pelvic floor PT? Strongly recommended, particularly if you experience pain, leaking, pelvic pressure, or visible doming. That said, these gentle movements are considered safe for most postpartum moms to begin independently.
What if I feel nothing? Super common. Your deep core may feel completely disconnected right now. Stay focused on the breathing cues and give it 2 to 3 weeks of daily consistency before expecting to feel clear muscle activation. Progress often shows up as less back pain or better posture before you feel anything during the exercises themselves.
Start Small, Stay Consistent, and Give Your Core Some Grace
Here is what I want you to take away from all of this: you do not need a gym, a 60-minute workout, or a single piece of equipment to heal your core. You need 10 intentional minutes, the right movements, and the willingness to show up for yourself consistently. That is genuinely it.
The lazy girl approach is not just convenient; it is actually backed by research. Short daily sessions beat sporadic long ones for DR recovery because they keep your deep core muscles regularly activated and support steady tissue remodeling without overwhelming a body that is already doing so much.
And if you have PCOS, please hear this: a slower recovery is not a failure. It is a completely normal physiological reality tied to hormones and metabolism. Gentle consistency works beautifully for your body, even if progress feels slower than you want.
Bookmark this post, pin the exercise list somewhere you will actually see it, and pair your routine with a quick high-protein snack for recovery fuel. A Greek yogurt or a protein shake counts completely.
Most importantly, on the hard days? If all you do is the breathing exercise lying in bed, that is a win. It truly is. Progress lives in the small moments, too.
Conclusion
Healing diastasis recti does not have to be exhausting, overwhelming, or all-or-nothing. Here is what to remember: gentle movement is still movement, consistency matters more than intensity, and your body is capable of healing even on the slow days. If you are a PCOS mom dealing with low energy, these lazy girl exercises meet you exactly where you are.
Start small. Pick one or two moves from this list and do them today, even from your couch or bed. Every intentional breath and gentle contraction adds up over time.
Your core has been through a lot, and it deserves patient, loving attention, not punishment. Bookmark this post, share it with a fellow mom who needs it, and remember that showing up softly still counts as showing up. You have got this, mama.
⚡ Rebuild Your Postpartum Core Safely
Healing a belly gap doesn’t mean you have to sacrifice your evening or push your body to exhaustion. Keep your postpartum recovery moving forward smoothly with these realistic, mom-tested guides and low-stress shortcuts:
📚 More Postpartum Core & Recovery Guides
- Assess the Gap: Not sure how wide your separation actually is? Use our simple 2-minute guide: How to Check for Diastasis Recti at Home.
- Understand the Science: Get a clear, simple breakdown of what is happening beneath the surface with What is Diastasis Recti: A Busy Mom’s Guide.
- The Next Level Blueprint: Ready to add a structured, low-stress routine to your week? Explore our Safe Exercises for Diastasis Recti: A Realistic Guide.
- Full At-Home Fitness: Map out your return to consistent movement safely with the ultimate Postpartum Workout Plan for Beginners.
🛠️ Grab Your At-Home Routine Shortcuts & Checklists
Take the heavy lifting, guesswork, and overwhelming planning completely out of your week with these ready-to-use digital tools:
- 🎁 Free Download: Start building consistent, low-stress daily habits with our completely free 3-Day Postpartum Fat Loss Kickstart.
- 🔄 The Complete Daily Tracker: Want a step-by-step roadmap to take control of your schedule, energy, and physical recovery from home? Grab the 30-Day Fatloss Routine For Busy Moms.
- ⏱️ The Quick Lifestyle Shift: Short on time and running on low energy? Reset your baseline habits in just one week with our 7-Day Lazy Lifestyle Reset Guide.
Leave a Reply